Ever seen a picture of ink that looks like it’s been stretched out and separated into its component colors in the process? That’s fountain pen ink chromatography, and not only is it surprisingly easy to do yourself, it’s also quite informative.
What Is Chromatography?
Simply put, chromatography is the practice of separating any mixture through a medium (other than itself) which separates the components of the original mixture. Chromatography is often used in the processing and examination of our blood, and you may have also heard of gas chromatography which has many uses, such as analyzing the make-up of a gas. You can even examine DNA with affinity chromatography.
For our purposes, chromatography is the practice of putting fountain pen ink on a highly absorbent piece of paper and watching the different compounds in the ink separate as they travel up the paper at varying speeds. The compounds are, in this case, the different colors that were combined to make the desired in color.
Fountain pen ink chromatography is a form of paper chromatography, which means the ink will travel up a strip of paper. The movement up the paper will require the use of a solvent (in this case tap water) and capillary action.
What Do You Need To Do Chromatography?
Assuming you already had some fountain pen ink, you’ll need:
- Chromatography paper
- Alternatively you can use a paper towel, thick toilet paper, blotter paper, watercolor paper, or bleached coffee filter
- A tool for transferring ink, like an eyedropper, syringe, or, best of all, a 3 ml pipette
- Disposable cups for holding water
- Paper clips, binder clips, or tape for holding the chromatography strips
- Tap water
- Optional: Some newspaper and paper towels, to prevent making a mess on your desk

How To Do Fountain Pen Ink Chromatography
Here are the steps for your ink chromatography.
First of all, get your gear is in order and your have a place to work that’s free of kids, dogs, wind, and anything that will mess up this fragile work.
Next, fill a cup about a quarter of an inch of room temperature tap water. This will be the vessel where your ink makes its journey up the chromatography paper.
Get a chromatography strip (or coffee filter, etc.) and write the name of the ink you will be testing at the very top. Keep it small. Use pencil or ballpoint pen, something that won’t run if water hits it.
Next, get a single drop of ink and put it about an inch from the bottom of the paper, right in the center. This will be the starting point.
Put the paper in the cup so that the very bottom is in the water. Keeping the paper as straight as possible and touching as little of the cup as possible, affix the paper the top of the cup. You can use a binder clip, paper clip, or some kind of tape. If you do use tape, makes sure to use low-adhesion tape, like washi or masking tape, so you can putt it off later without ripping your chromatography project.
The best way to do this is to place a straw or chopstick across the top of the cup and let the paper hang from that. If that’s not practical for you, you can affix the paper to the side. You can use multiple strips of paper in a single cup, just make sure all of the ink stays out of the water when you do that first dip!
The water will start to travel up the paper. This will vary in speed depending on the paper you bought. A typical 6-inch strip will have about 45 minutes between the water is getting towards the top of the paper. The longer you wait the more color separation you will have, but you have to be careful as some colors will start to collect at the top of the paper, and you’ll lose some of the effect.
After the color separate is done enough for your liking, remove the strip from the water and let it dry. You’re done!
Alternate Method With Other Papers
If you are going to use a round coffee filter or a paper towel, you can put the fountain pen ink drop in the center and then use your pipette to place 1 to 3 drops of water on top of the fountain pen ink. This will cause the ink to spread outward instead of up the paper. The ink separation won’t be as dramatic but you will get enough ink travel to see the compound colors within your ink.
Why Do Ink Chromatography?
What’s the point of all this work? Well, foremost, it’s a fun and relaxing project. And kids love the experiment angle of it. You are doing a pretty legitimate scientific experiment after all!
For the ink and fountain pen fanatics, chromatography let’s you see the colors that were mixed to make your ink. This helps with matching and it let’s you really know if that shade you seen in your inks sheen is really a hint of red or orange, make maybe was it purple?
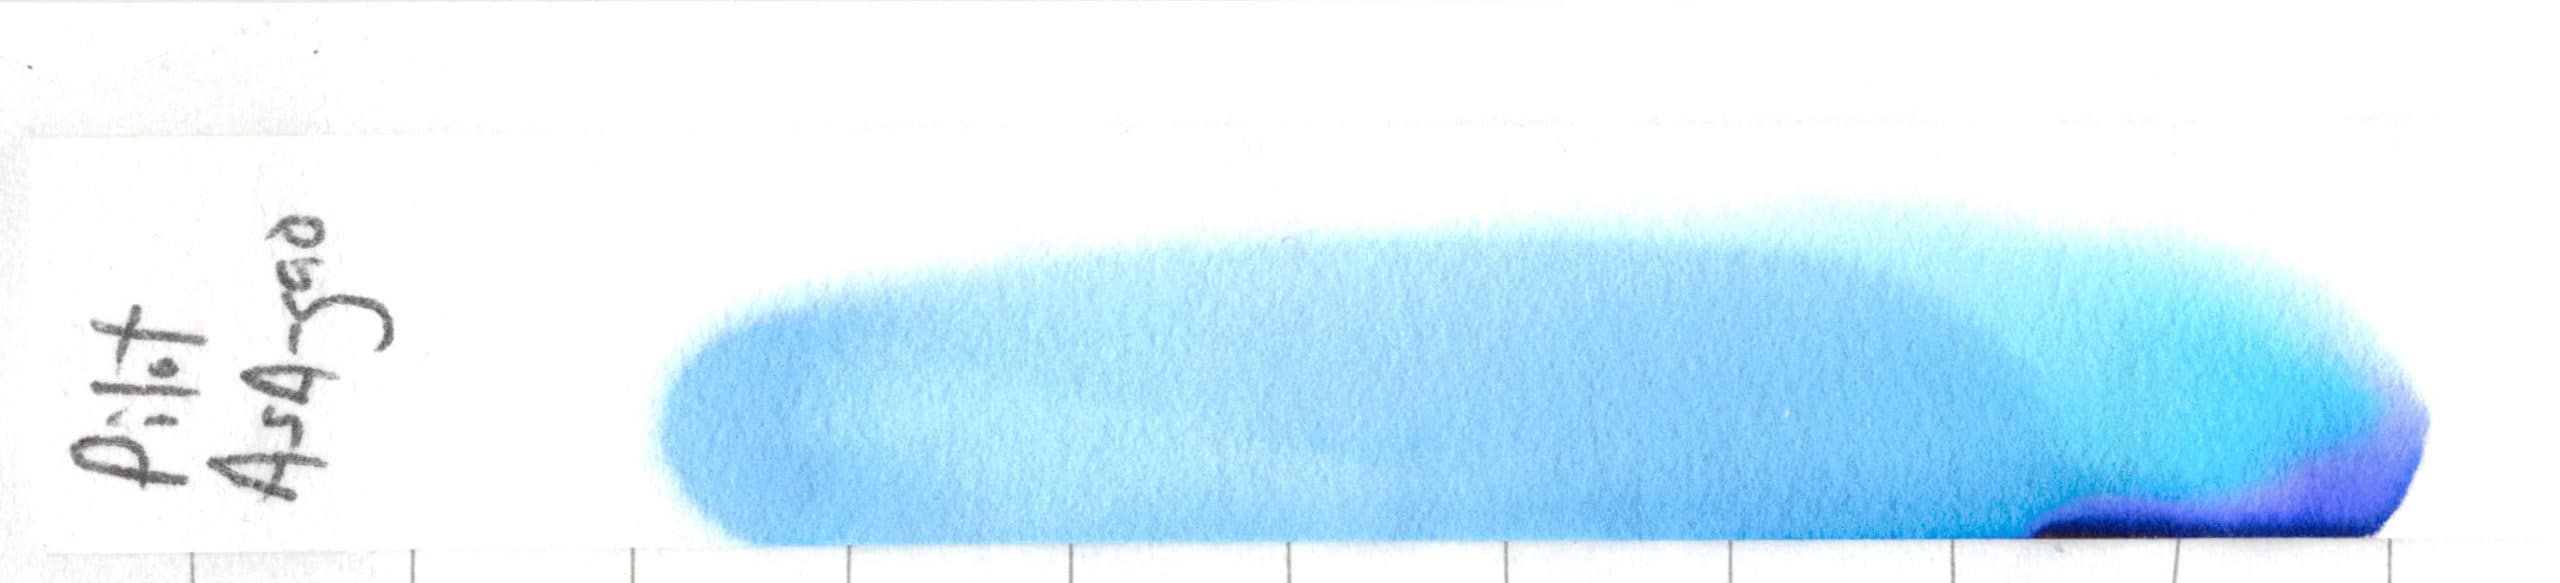
By doing chromatography you’ll be constantly surprised about how your favorite inks were made. For example, many blue inks have some pink in them in order to move them from navy to a bright blue, without resorting to adding green and veering them off into a turquoise shade!