Is your pen not writing? Has it run out of ink? Here is our guide to changing your pen’s refill.
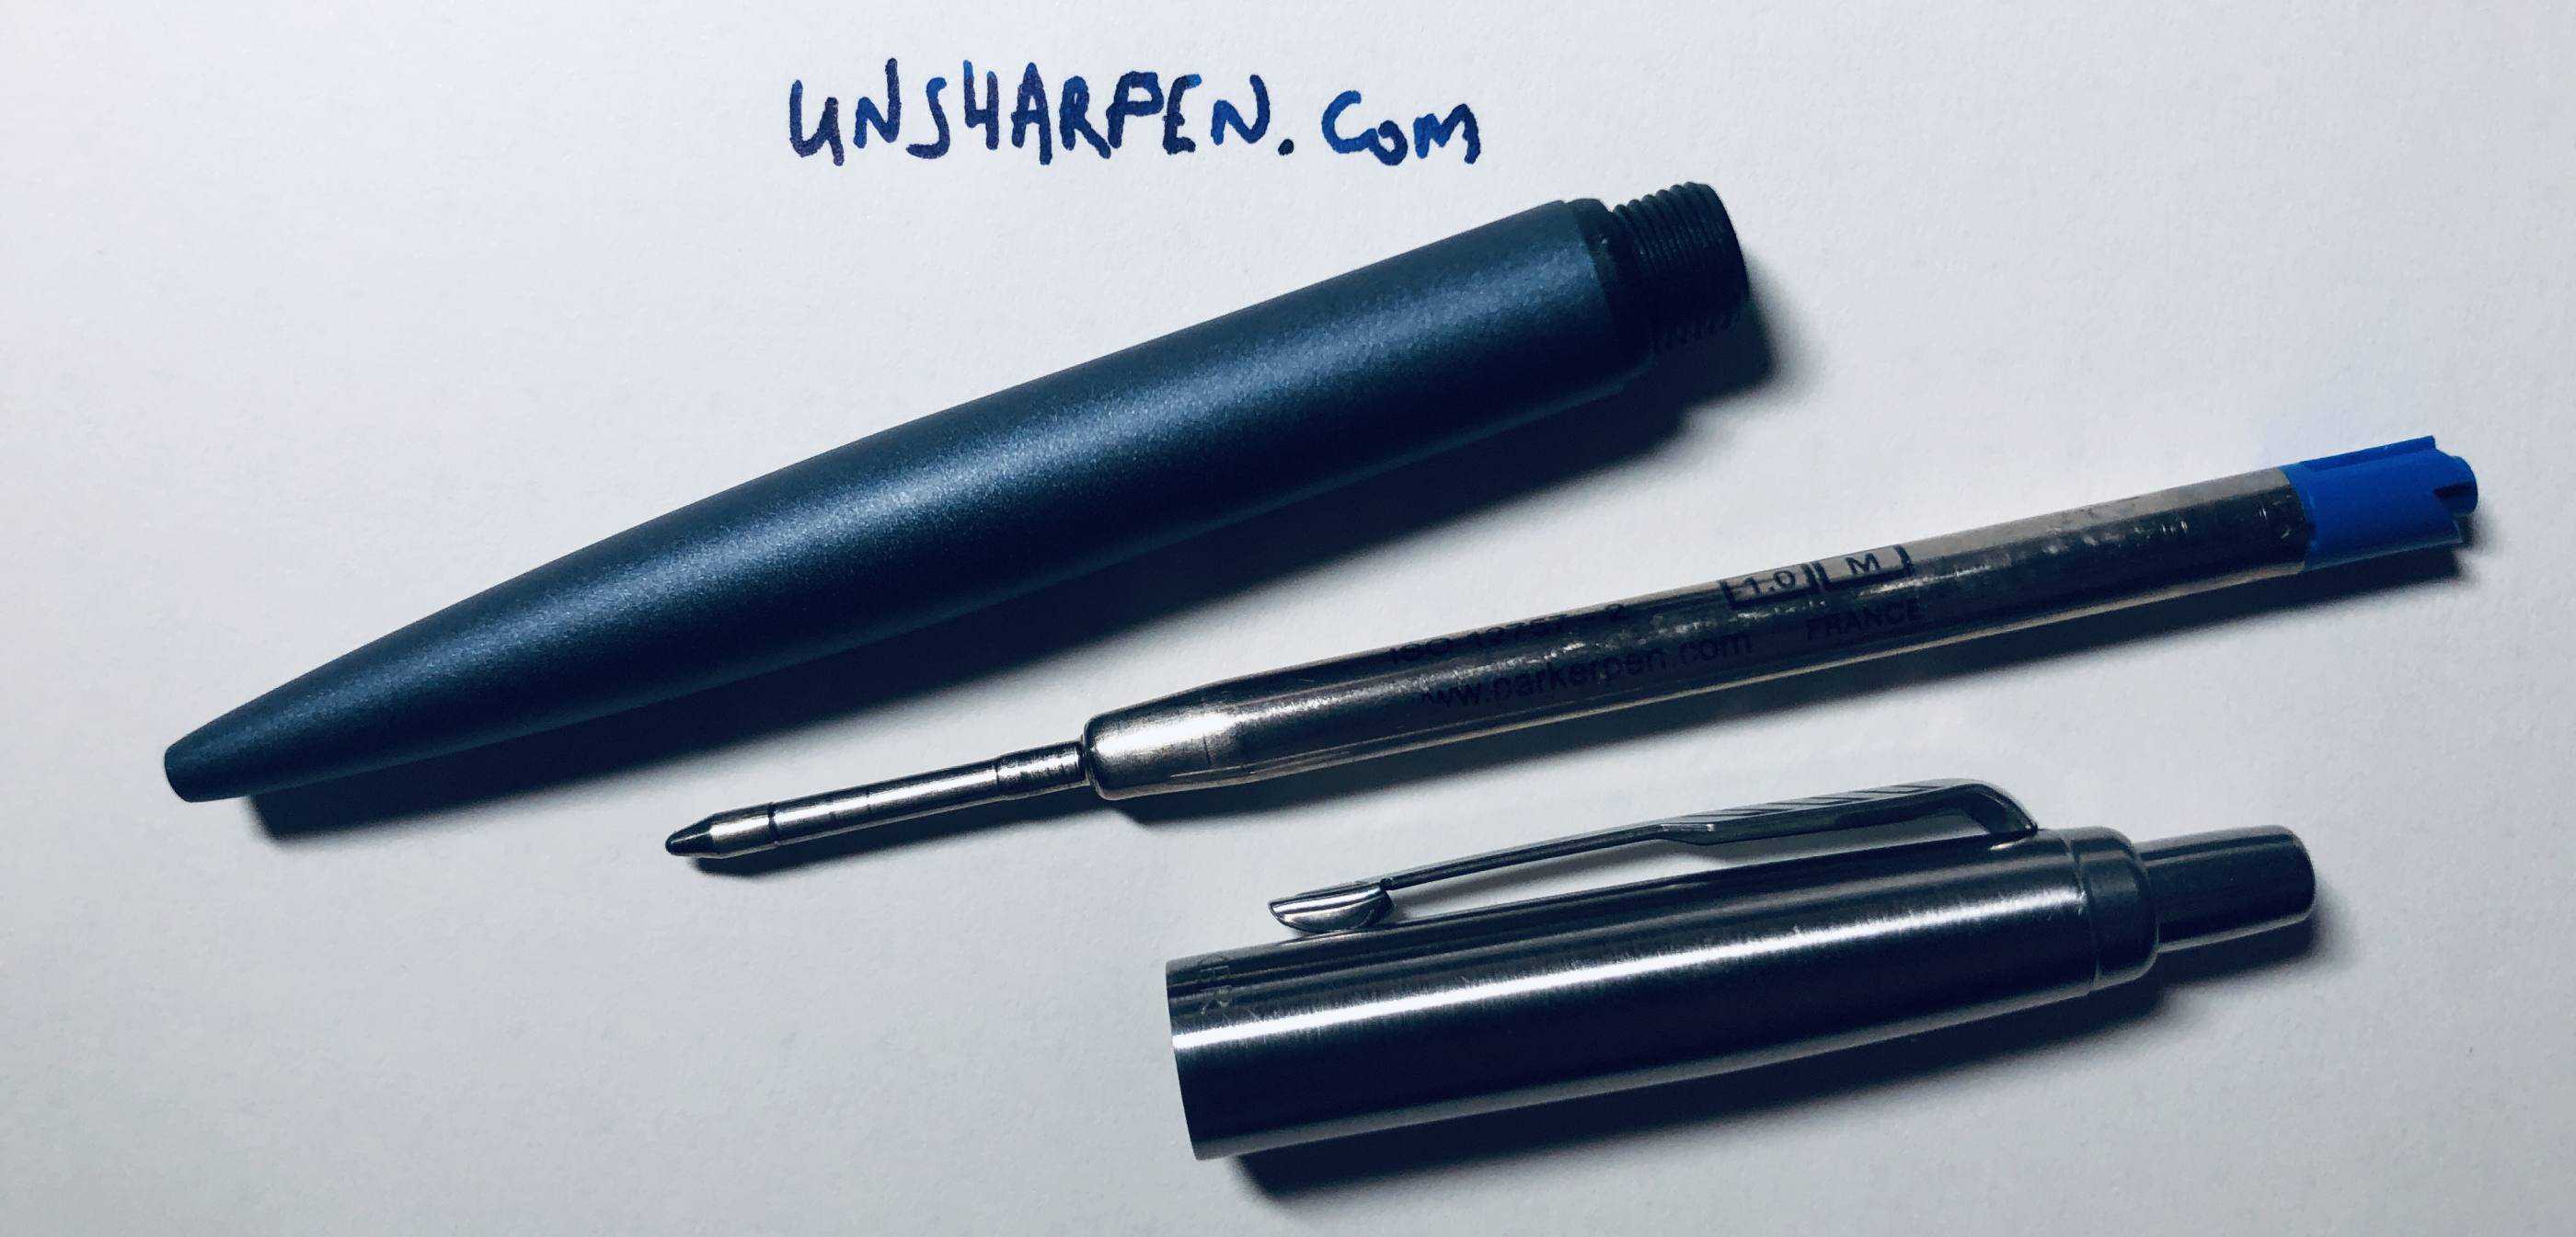
Most pens are made of the same few components: a barrel, grip, spring, and refill. Opening a pen up to separate these components from one another is usually a very simple process that involves twisting one component — usually the grip — counter-clockwise.
Changing A Ballpoint Pen Refill
A typical pen will work as described below. This will be true if it’s a ballpoint, but these instructions are generally true for most pens.
- If the pen can twist or has a button on top: Retract the writing tip so the pen isn’t able to write.
- Unscrew the front piece (the grip) until it separates from the pen’s barrel.
- Pull the current refill from the pen, saving the spring if it comes out. Dispose of the refill.
- If it came out, put the spring on the new refill. Place the refill in the pen grip, writing tip forward.
- Screw down the grip until secure. Don’t over tighten.
- Your pen should now be ready to write.
Changing A Rollerball Pen Refill
- Remove the pen’s cap and set it aside.
- Unscrew the front piece (the grip) until it separates from the pen’s barrel.
- Pull the current refill from the pen, saving the spring if it comes out. If the refill doesn’t come out then unscrew it, going counter-clockwise until it separates from the grip. Dispose of the refill.
- If it did come out, put the spring on the new refill.
- Place the refill in the pen grip, writing tip forward. If you had to unscrew the refill from the grip, screw the new one back in place. Be careful not to over-tighten and move slowly to prevent cross-threading.
- Screw down the grip until secure. Don’t over-tighten.
- Your pen should now be ready to write.
- Keep the cap in place when not in use to prevent the refill from drying out.

Changing A Fountain Pen Refill
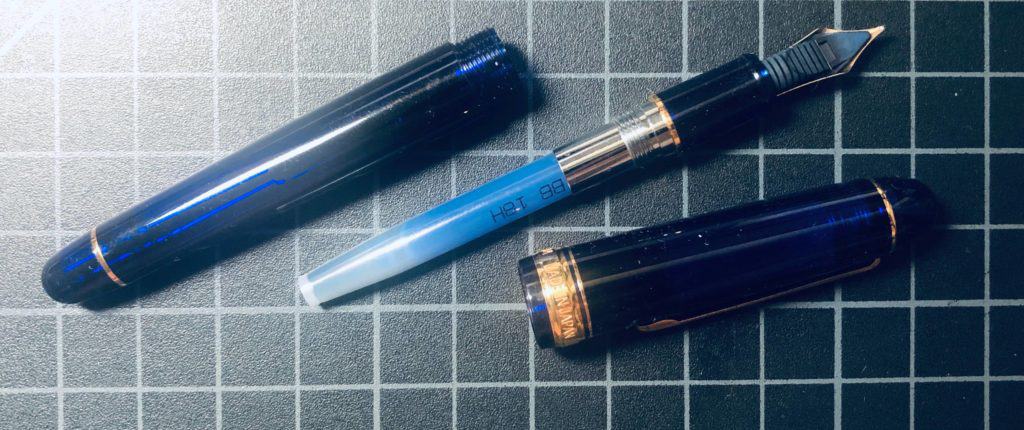
Some fountain pens use a small refill, known as a cartridge. You can replace these as you would a pen refill, though you should still clean out your fountain pen after every few cartridge changes (depending how long a refill lasts for you).
If your fountain pen doesn’t use a cartridge then you can read our guide about how to fill a fountain pen.
- Set down a large piece of paper or paper towel to work upon so ink doesn’t get on your desk or counter.
- Remove the cap from your fountain pen and set it aside.
- Unscrew the grip and set it aside. Be careful it doesn’t roll off the desk, potentially damaging the nib.
- Pull out the current cartridge, dispose or set it aside to refill.
- Get your new cartridge and identify the end that is designed to open. This will be in the instructions. This end is typically narrower and has some sort of ridge or ring on it.
- Gripping the refill firmly, and push the end you identified into the fountain pen.
- Push until you feel a noticeable “pop” followed by a few millimeters of movement. You’ve punctured the refill and the ink is circulating through the pen’s feed.
- Screw the grip back into the body.
- Replace the cap and let your ink circulate for a minute or two.
- Your pen should be ready to write.
Your might take a minute or so to restart as the ink needs to work its way through the feed. If your fountain pen doesn’t start, check out our guide about how to start your fountain pen.
