Some of the most interesting things happening with fountain pen ink don’t involve writing at all. Fountain pen ink and a nice paper can become the medium through which all sorts of cool art is created, one style of which is ink splatter.
So how do you make an ink splatter? Do you just pour ink onto paper… or is there more to creating those perfect little splatter droplets?
Materials You’ll Need for Ink Splattering
Getting started with ink splatter is pretty easy. You’ll just need…
- Fountain pen paper
- Fountain pen ink
- An eyedropper, pipette, or fountain pen syringe
- Protective container (plastic bin, cardboard walls, paper towels, etc.)
The setup is really simple: you need a dropper to dispense the ink in very small doses, you need paper, and you’ll want some way of preventing the ink from getting all over your workspace. Almost everyone interested in fountain pens will be able to do this with materials that are already in their home. The biggest challenges will be finding a paper you are happy with if you are truly trying to make something artistic and then finding a good dropper.
You can use the eyedropper included with a pen like the Moonman M2 or you can use our preferred route, a disposable pipette. The key here is control — the amount of ink dropped and the distance you drop it from are two major variables in controlling your results. A fraction of a milliliter can make a big difference. Another big difference will come from the amount of air mixed into the ink, as you can create very interesting splatter patterns but sputtering air/ink mixtures onto the paper.
Ink Splatter Techniques
When you are learning to ink splatter you’ll want to keep in mind that there are different ways to splatter, each of which will cause a different effect on the paper.
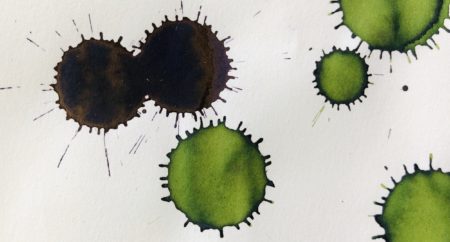
Droplet
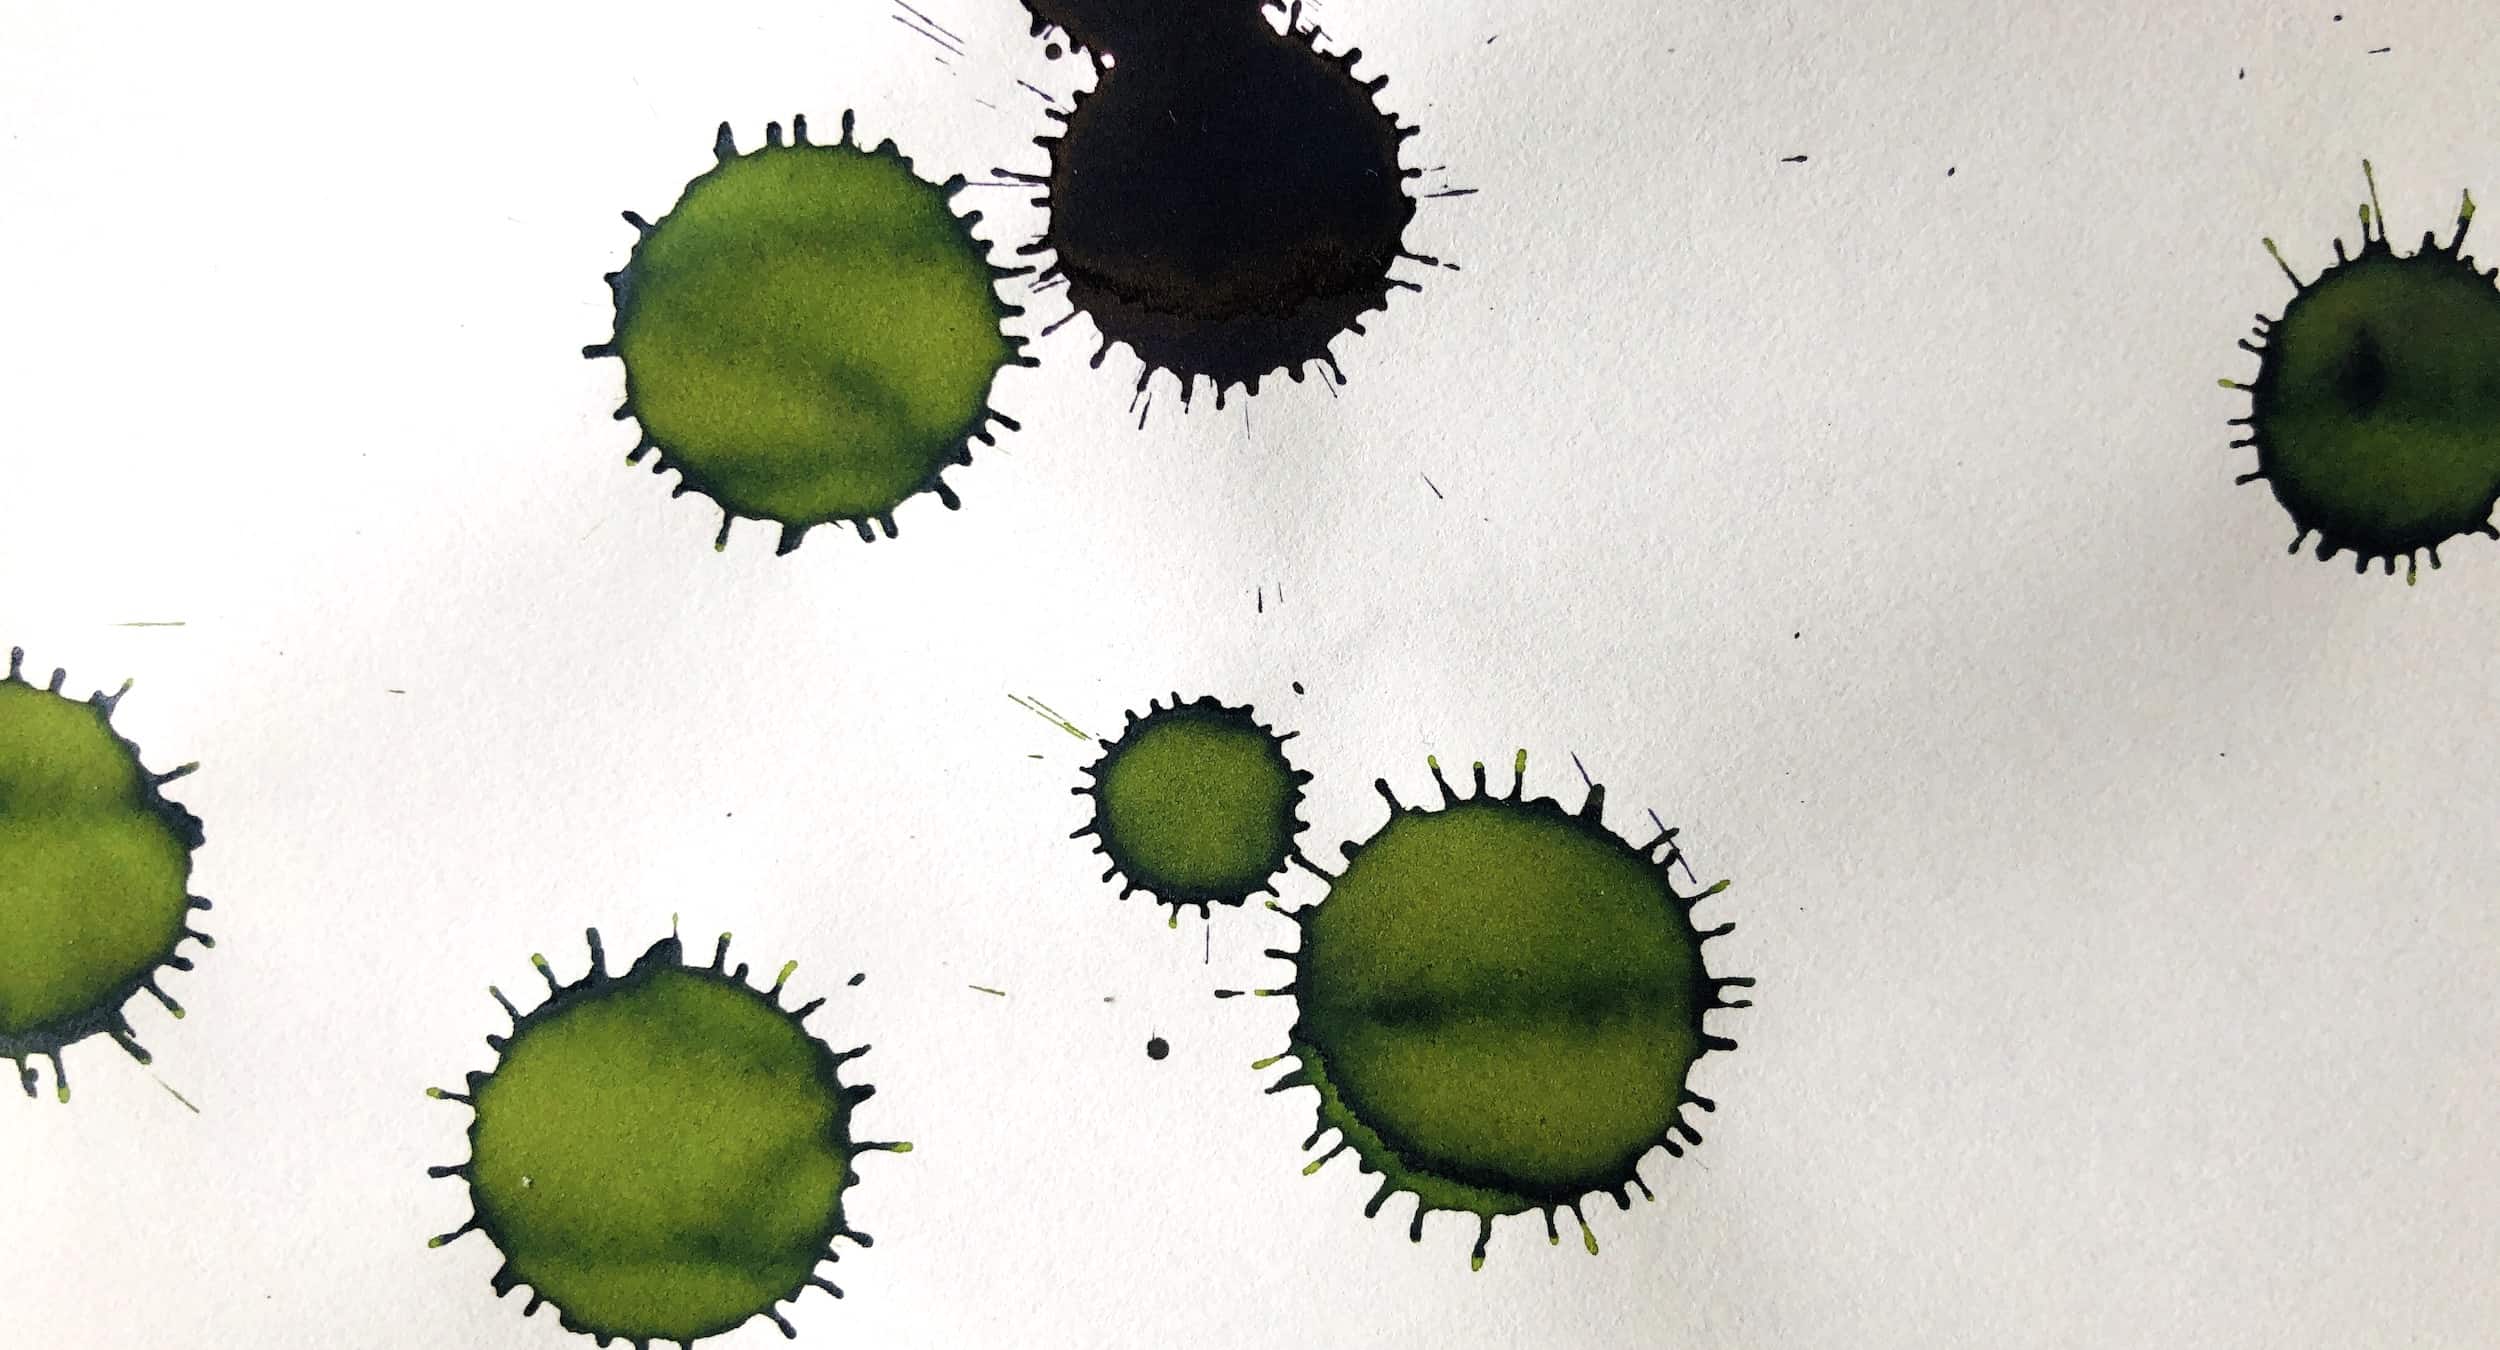
The most obvious way to ink splatter is a droplet. To do this you’ll hold the dropper directly above the paper, release a single droplet, and let gravity do the work. The main variables here will be the amount of ink you release and the distance from the paper.
Droplets will create uniform, round splatters on the paper with “legs” sticking out from the main circle. There will be some splashing creating a few messy little drops and streaks on the paper, but it will be limited.
The main downside of the droplet is that it let’s out a lot of ink in a small area of drying times are long and you might get unwanted shading within the droplets with some inks. In some of the sample shots in this article you can see heavy shading with Sailor’s Shikiori Waka-uguisu, which you might love or it might not be the effect you wanted. This pooling of ink that causing the shading can also cause ink to bleed through the paper, causing extra clean up.
Splatter droplets can be tweaked by letting out more or less ink, or by putting the paper at an angle. Angled paper will create a cool effect but can lead to dripping on the paper which, again, might not be the intended effect.
Squirt
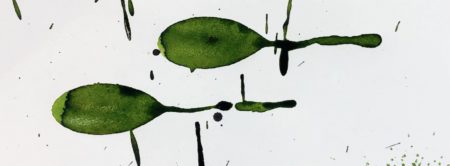
These aren’t official names — so bear with me on the titles. A squirt is basically a droplet that is expelled with force. The key here is that you are pushing the ink out of the dropper and using force to do so, not simply releasing the ink and letting gravity take hold of it.
The advantages of the squirt is that it can be directional and the ink patterns tend to be much more interesting than a simple droplet splatter. The downside of squirting the ink its that it’s a lot more messy and difficult to control than drop splattering ink.
The key here is to use all liquid with limited air mixed in (otherwise it’s a spray) and to not use too much ink. What you never want to do is firehose the ink all over the paper — it’ll make a mess and it’ll ruin the paper, plus the required clean up will really cut down on the fun.
Spray
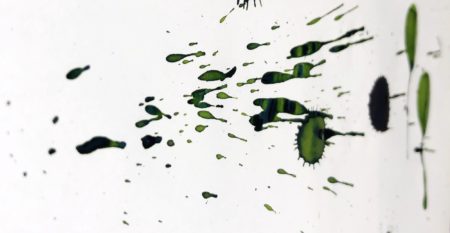
Spraying ink is an advanced technique similar to squirting. The key here is that you aren’t working with pure liquid ink, but a mixture of ink and air. This yields the most interesting patterns but also the most difficult to control. The process is also difficult to repeat to regular results since the mixture of air and ink isn’t exactly easy to pull off.
The key here is not to use too much ink and to use sufficient force to get a good pattern.
Just like with the squirt technique, you can spray the ink directionally, so you can add a whole new dimension to your ink splatter patterns.
Blow
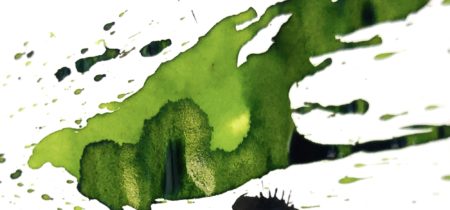
This is more of an augmentation of other techniques than a type of splatter itself, but it’s worth mention nonetheless. If you make a droplet and then blow the ink across the paper you can will get great movement of the ink. The drops will travel unpredictably, going side-to-side more than you’d expect and creating complex shapes that add lots of movement to your splatter patterns.
Shake
Whether you are using a dropper, a toothpick, or a pen, you can get good results by shaking the object and then stopping it short of the paper, causing ink to shoot out when you stop short. Alternatively you can put the ink on the end of a toothpick or dropper and flick it across the paper.
The important thing here is never coming in touch with the paper! If you go to far you can ruin your nib by slamming it into the desk in the worst case, or simply just damage your work of art.
Shaking, while fun and requiring no extra materials, has the highest chance of damaging something and it very difficult to use to get repeatable results. That said the ink splatters from a shake can be wild and unpredictable in the best of ways.
The Best Inks for Splatter Art
If you want to try out ink splatter for yourself then you might think a smart thing to do would be to buy some fancy ink. While your heart is in the right place, you’ll want to hold off on that! Ink splatters use up a lot of ink, so you are better off using the ink you already even. Additionally, you can make great splatter art with the remnants of an ink bottle, so even if you don’t have enough to fill a pen, you can go ahead and create something cool.
Our favorite splatter inks is anything with a lot of sheen and or a lot of shading. Fountain pen ink sheen is when the ink has a shiny, metallic look to it after it dries while shading is
Some good inks to work with:
- Pilot Iroshizuku Kiri-same – Shading
- Sailor Shikiori Waka-uguisu – Shading
- Diamine Maureen – Sheen
- Robert Oster Fire & Ice – Sheen
- Pilot Blue Black – Very affordable
