Few people would argue that one of the main draws to fountain pens is the amazing variety of inks on offer. This selection can quickly go from an allure to a curse when the paradox of choice sets in and you are presented with literally hundreds of shades of blue, all of which are relatively affordable and easy to access.
If you don’t quit fountain pens right at that moment you are presented with an interesting dilemma: how can I test inks? Taking things to their logical conclusion, we here at Unsharpen further asked, “How can we test fountain pens inks cheaply, efficiently, and accurately?”
Here’s what we’ve found…
Ink Sampling Vials Are A Problem
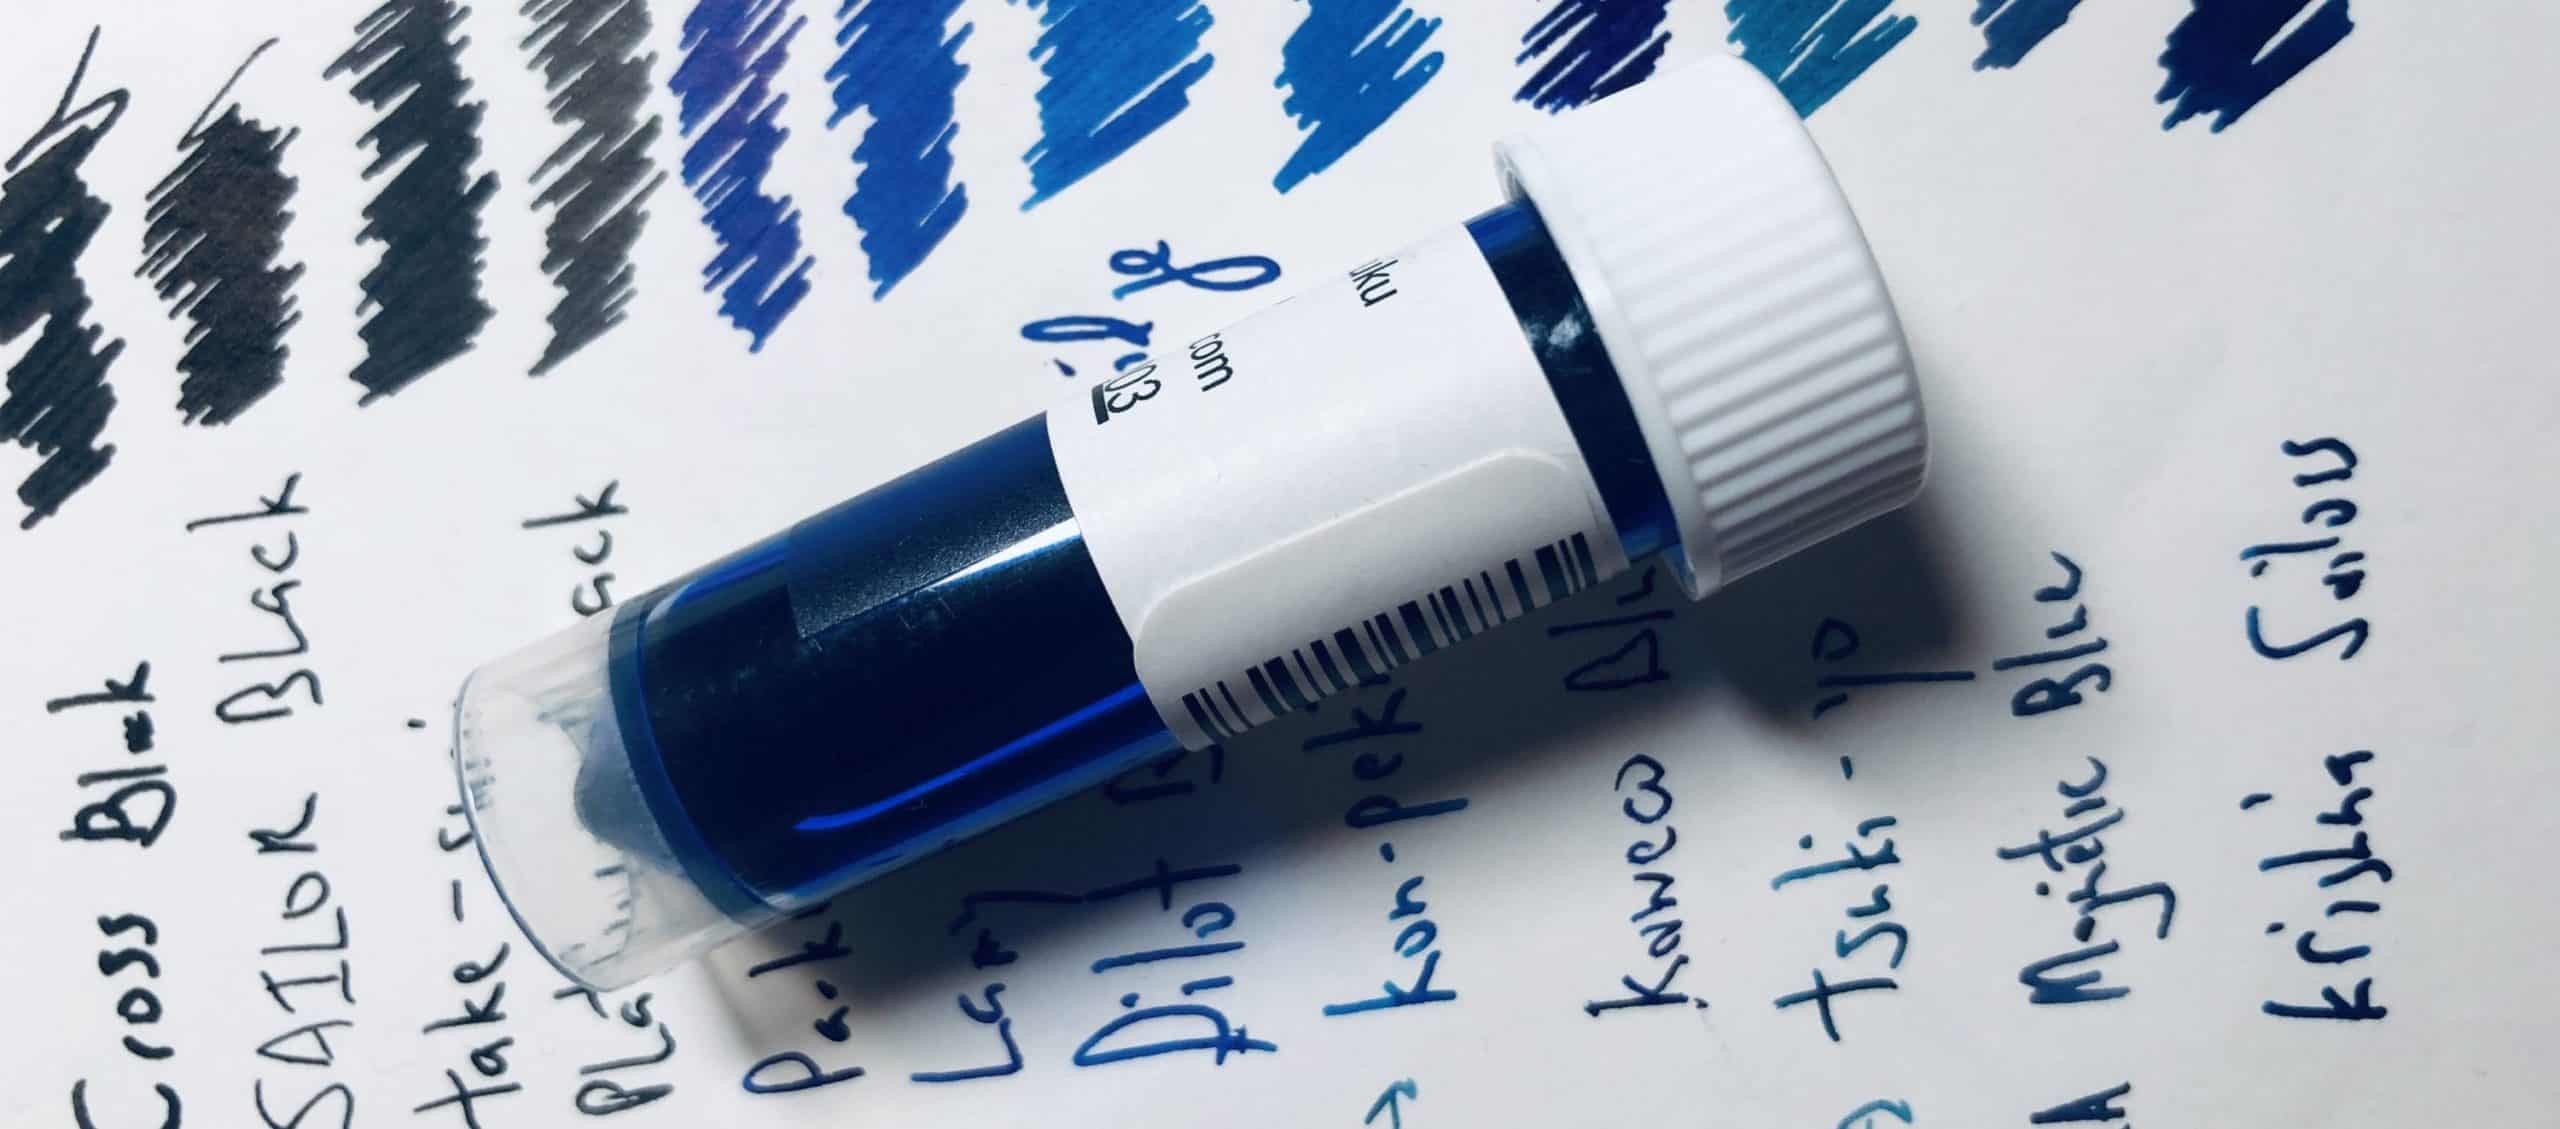
One thing to keep in mine when testing ink is that fountain pen ink samples normally come in vials. These are small, plastic tubes with conical bottoms for ink collection and a lid that screws on tightly. These vials usually hold about 2 ml of ink (though have have capacity for about 5 ml).
The main issue with the vials is that they are rather narrow, with an inner diameter of about 14 mm. This means that not all pens will fit in thanks to the width of vial. One great ink testing pen, the Tswbi Go is too wide to use with an normal vial.
The size of the vials also means that some fountain pens will have issues pulling in ink from them. So you’ll either need to use a pipette and eyedropper pen or a narrower pen with a low intake point.
Method 1: Lots of Cheap Pens
One way to test fountain pen inks at scale is to just buy a lot of the same cheap pen and to test one ink in each pen. We’ve done this with 30 Platinum Preppy fountain pens to great effect as the test was as apples-to-apples as possible. This is theoretically the best method of fountain pen testing, but it’s expensive and possibly filled with delays (while you wait for pens to arrive).
Good pens for this include any cheap eyedropper fountain pen (the Preppy and Pilot Petit1 are two top choices) or almost any Chinese fountain pen. Since many Chinese fountain pens are sold in multi-packs and include a converter they are ideal for ink testing. One prime example is the Jinhao 599 which sells for under $10 for a set of 8. As a bonus the pens are color-coordinated to they are easy to tell apart.
Strengths
- As accurate a comparison as possible
- Allow for extensive ink testing (a pen might hold 2 ml of ink)
Weaknesses
- Expensive
- Delays due to shipping
- You will have huge amounts of pens
Method 2: Dip Pens and Glass Pens
Another way to get an apples-to-apples test would be using the same pen (as opposed to a large number of identical pens). The problem with doing this with a fountain pen is that no matter how thorough you clean a pen, it’ll always retain some ink and water from your previous usage, so the ink you are testing can be affected. This might be a minor impact, but when combined with the time it takes to do a thorough cleaning, it’s an issue.
The solution is to use a pen that’s incredibly easy to clean. That means something that’s not designed to retain a lot of ink in its feed. The prime candidate for this is a dip pen. Usually used for calligraphy and drawing, these pens are ideal for switching ink colors as they don’t have their own source of ink built ink.
Pens that will work for this application are comic pens and calligraphy pens, for example a Speedball calligraphy set which will get you five nibs and a nib holder for about $12.
A glass pen is a type of dip pen that is made entirely of glass. It usually as a swirled, ice cream cone-looking feed that can retain enough ink for a sentence or two. These pens are usually used for letter writing and calligraphy but they are great for ink testing because they are incredibly easy to clean and retain no ink at all.
Strengths
- Affordable (under $15 total)
- Repeatable testing without more ordering
- Efficient (no pen build up)
Weaknesses
- Requires specialty equipment that you likely won’t otherwise use
- Very limited testing time with each color
- Pens aren’t quite what you’ll be writing with later on
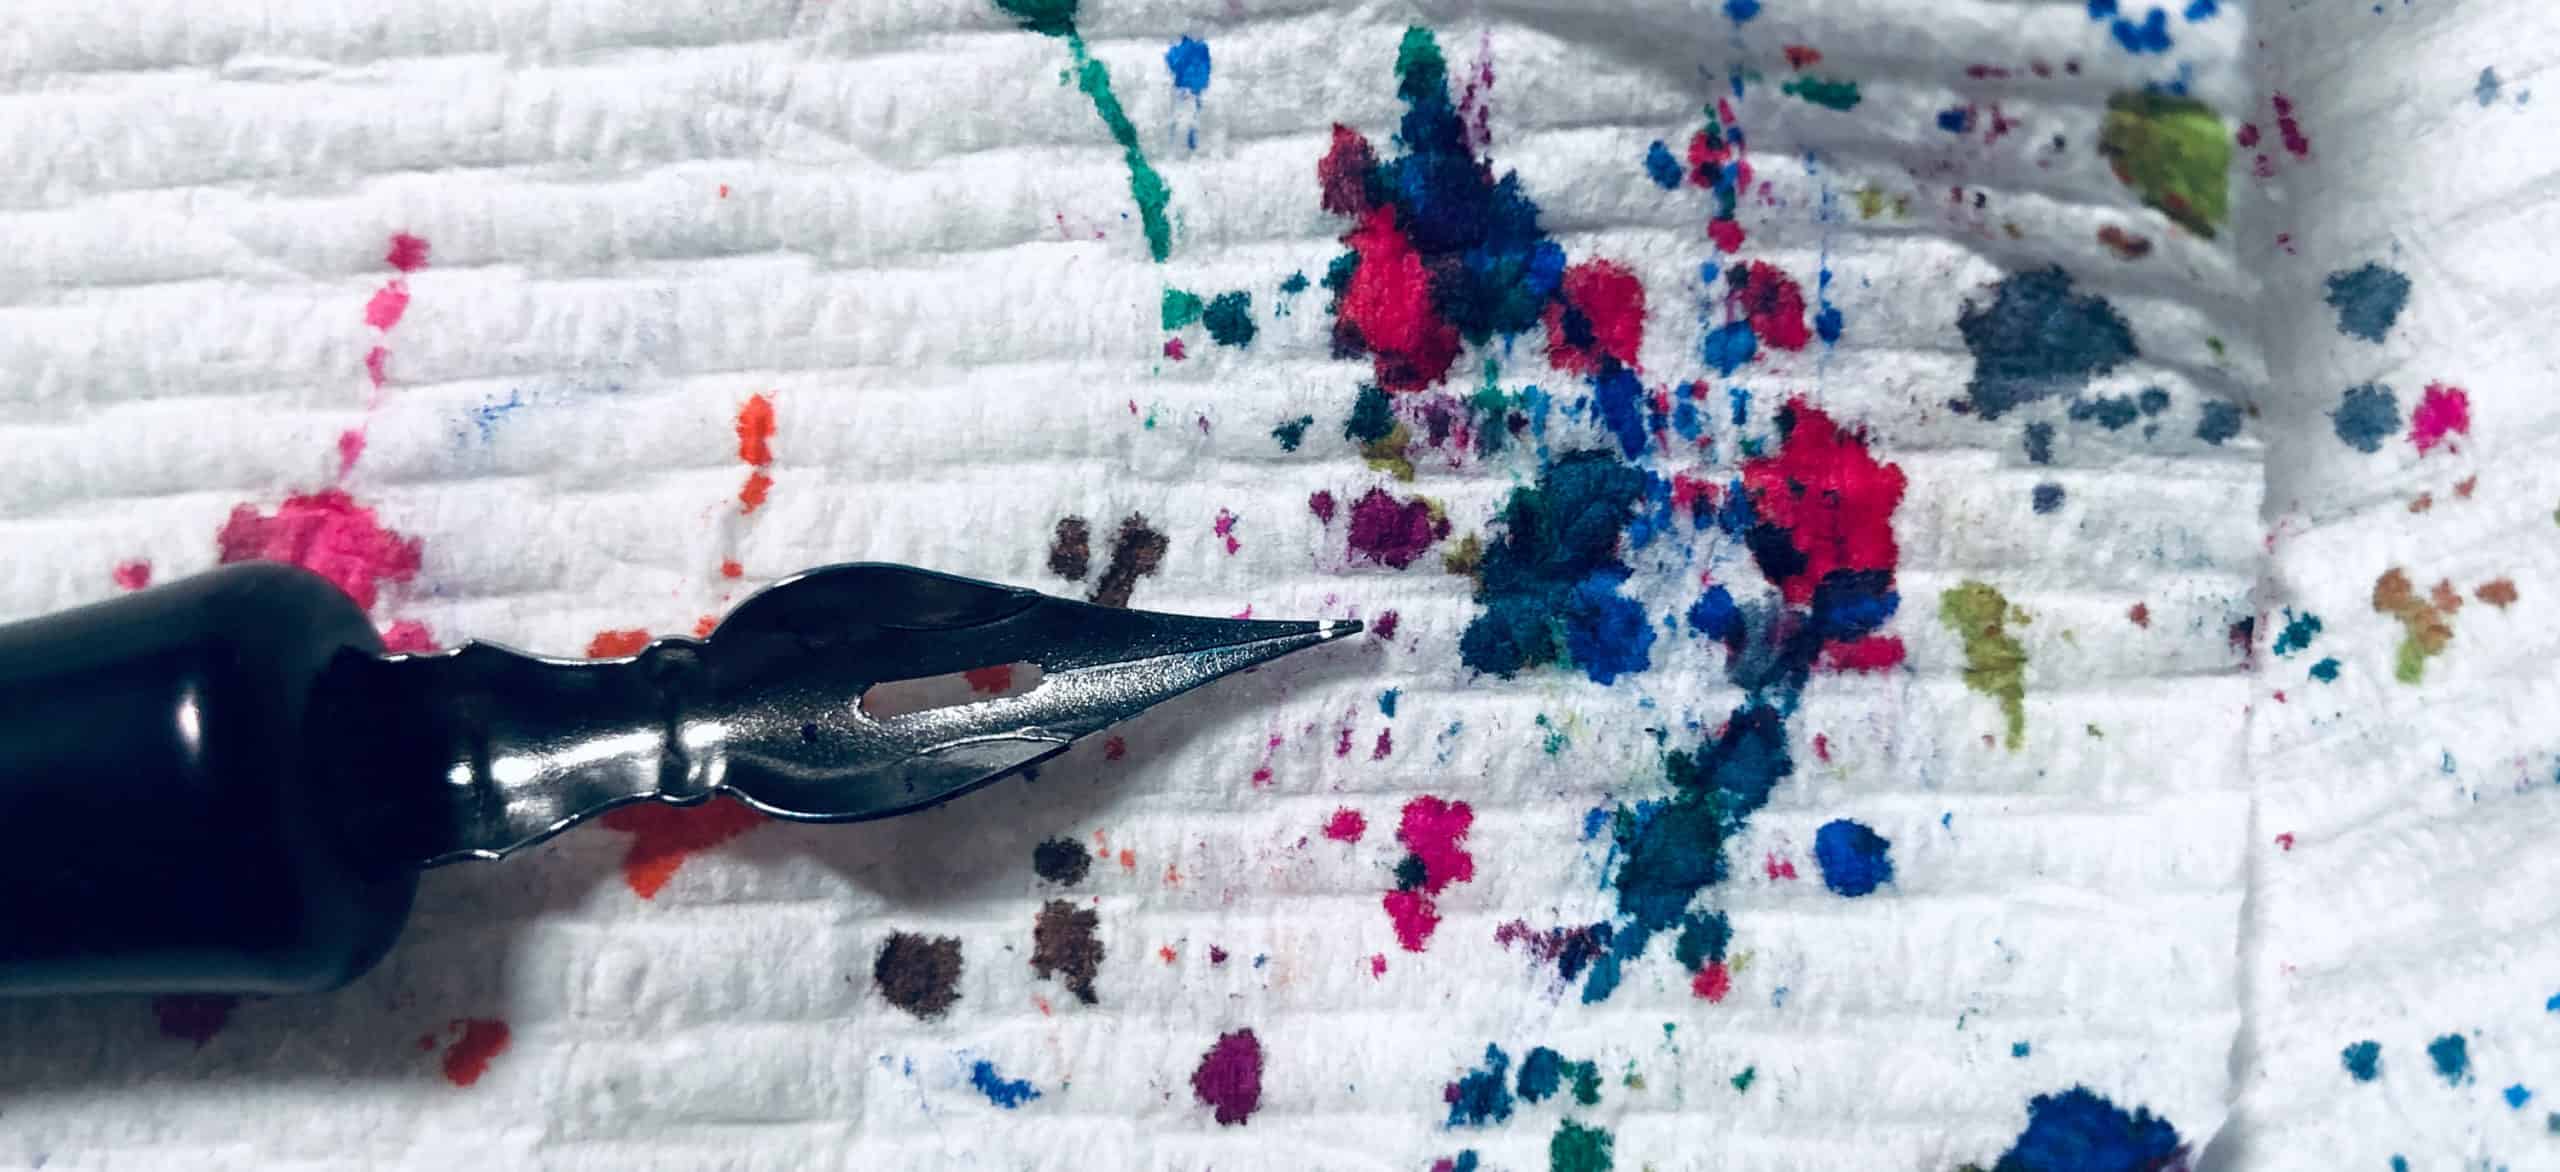
Method 3: Swabs
We’ll call this number three, but it could just as easily be an alternate take on using a dip or glass pen. Using a cotton swab or something similar you can dip it in the ink like a pen and then “write” on a piece of paper. You’ll get a good idea of the color and you’ll easily be able to modulate ink amounts in order to induce shading.
For this you can use a standard untreated cotton swab (the generic name for a Q-tip) or a cotton-tipped applicator which is much longer and can be written with like a pen. There are also products like “micro brushes” which are similar to Q-tips but have much less cotton at the end. This will get you closer to a pen but it’s still pretty far from a real nib.
Strengths
- Super cheap
- Incredibly time efficient relative to other methods
- No clean up
Weaknesses
- The least accurate writing experience
- Chance of leaving trace amounts of cotton or dust in your ink
Method 4: Easy-to-Clean Pens
This is the most obvious of the method for testing fountain pen ink. You simply find a pen that is easy to clean and then use that for your fountain pen testing. You can even buy a few of them and cleverly combine methods one and four.
There are some challenge though, such as pen will take at least 5 minutes to clean, so there is a time commitment. Additionally there is always some dye retained from one ink to the next so the chance for cross-contamination — however slight — is basically 100% unless you are using an ultrasonic cleaner. Lastly, and this is a real killer, pen dry times can be quite high so the chance of starting off a test with some water in the feed is also quite high.
All that noted, this is still the method most people will use and it’s basically free, since you presumably already own a fountain pen or two.
Some recommended pens are the Tswbi Go, because it’s cheap and the spring-loaded pump is super fast to clean, and the Lamy Safari since the feed cleans out easily and you can the converters clean easily. Many people like Pelikan pens because you can unscrew the nib for deep cleaning.
A bonus feature to look for in this process is a pen with a translucent plastic feed. This will be a good indicator of if you’ve done a good job cleaning. One example here is the Sailor HighAce Neo.
Strengths
- Accurate writing experience since you’ll be using a normal pen
Weaknesses
- You might need to buy a pen you don’t want to use often
- Dry times are still a problem
- Color retention from the last ink can be an issue
- You’ll still spend lots of time cleaning
The Paper
Any paper will technically work for fountain pen testing, but if you want to get the best results you want to do two things:
- Be consistent!
- Use a variety of papers!
Both of these things will probably be self-explanatory, but just keep in mind that what you are doing is testing, and the requires some degree of rigor in terms of what you are keeping constant. Because the ink if the variable the paper should be as consistent as possible. We all know that different papers will make inks appear and react quite differently, so the only thing you can do is be consistent with your paper selection.
As far as specific papers go, just make sure you test ones that you enjoy using. You might want to test on a fancy fountain pen-friendly paper like Tomoe River just to bring all the color out of the ink, but if you prefer Rhodia or Moleskine, don’t forget to test on those!
Cataloging
You can always look up inks online to get a general idea of the color and comparison to other inks, but it’s impossible to get a great understanding of an ink this way. The lighting, camera, and editing of the person doing the writing online, not to mention their pen, it’s state of cleanliness, and their paper can all make a huge difference between what you see on your screen and will see in real life.
Another huge issue is monitor calibration. The white balance/color temperature and color settings of a monitor can have a dramatic impact on the colors of an ink. When’s the last time you calibrated your computer’s monitor? (For most of us, the answer is “never.”)
What’s the solution? Test inks and store the sample on something like a Col-o-ring, Word Cards, a series of paper swatches or in a notebook. Store this and use it as your reference.
Tip: Catalog inks by bottle, not by color! That is to say, if you buy a Pilot Kon-peki in January and another in June… test both! Inks can vary from one batch to another. You might be fascinated by what you find.